Oh I see, thank you. Yes, thought that may come up in a later module. Looking forward to learning more.
HI Anna,
Im sure the questions you have asked will be covered in later modules, but for now some quick explanations;
A “Raster” layer is basically an “image” composed of a a grid of “pixels” (a "raster being a row of pixels). So a satellite image, scanned map, photograph etc are all raster formats. A “Vector” layer, is comprised of a series of “vertices” (points on a line), where each vertex has co-ordinates. A series of vertices combined creates a line (a vector), (eg. a road, river etc) while a series of vertices where the first vertex is co-incident with the last vertex creates a “polygon” (a line enclosing an area) . Eg a River, Country boundary, survey area etc). A vector layer where each featue is represented by a single vertex is a “point” layer) (eg. the Gibbon sightings, village locations, sample points etc
A “shape file” is a file format for storing vector data, and is the format developed by ESRI, the company that make ArcGIS software. It is a long standing format of many years and has become a de-facto “standard” for storing geospatial data and is used in many different GIS software packages.
There are a number of issues with Shape files however, so over the years, many more different file formats have been developed (eg. Geoson, KML, Geopackages etc). Im sure we will go into more detail of these later in the course.
Cheers
Jonathan
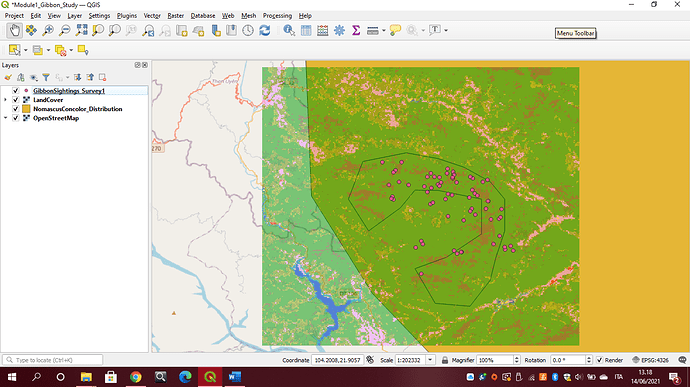
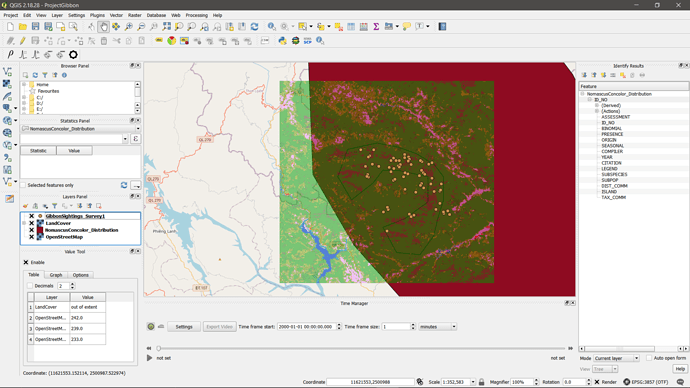
So here is mine. It is missing the street map - it all looked good and matched the tutorial,… but then something happened to our internet - we are in out in the forest… and i seem to have lost the openstreet. But just posting here anyway!
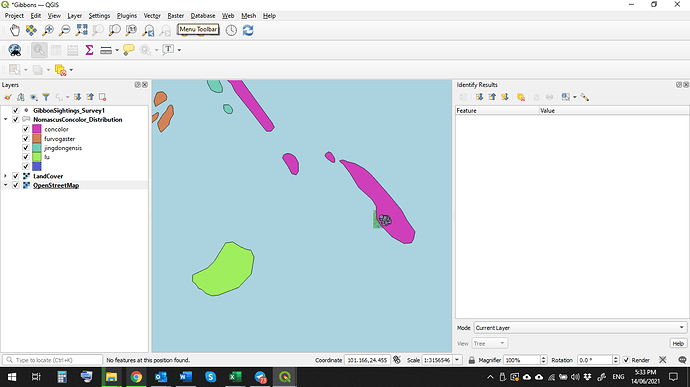
I also tried to categorise as @JonathanGatward had explained which is a fun addition… hence zoomed right out so i could see the different colours. Still tons to learn on how to add in all those details into the points… so i sure hope we are going in that direction.
Another thing - i went and found the land cover viewer that was used and downloaded the tile (or a tile as there are many options) for my area (SE Asia/Cambodia) but not the styles file as we had in this tutorial… not sure exactly where we get that from. When opening up the layer in qgis from the i tiff file I got from this site Land Cover Viewer - it is all black and white - not as pretty as what we got. Assuming this is from the lack of a style file ?? So many little things to undertsand!! This is why i have never been able to learn this by myself! Happy to be here!
Thanks Jonathan for these explanations. All this jargon is such a new language for me! but this helps a little.
Hi @Wisdom yours looks good - i’m wondering did you have trouble with getting the streetmap onto yours? mine worked for a while then disappeared when we had some internet trouble. Just wondering if yours is an internet issue also. Hope you are enjoying!
Hi everyone. The instructions for the first module are specific and clear, so I had no difficulty in carrying them out. Despite this, I did encounter an issue, which was the language setting of QGis. Since it was automatically set in italian, I had to change the settings in english to better follow the instructions. So today I unexpectedly learned how to change the language in QGis.
Thanks very so much for your comments, I have worked on it. Please which is the best option for encoding on the data source manager(vector) ?
Thanks once again.
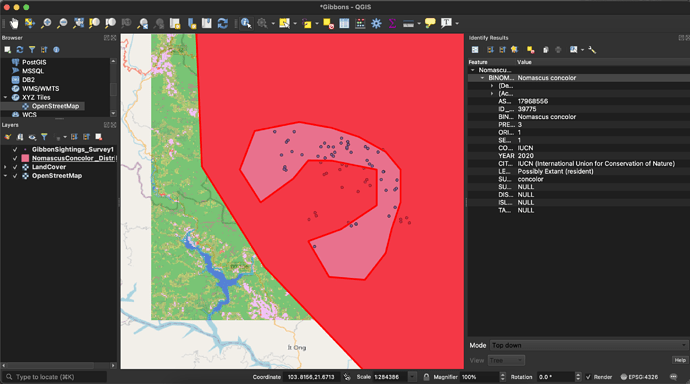
Thanks very so much for your comments, I have worked on it. Please which is the best option for encoding on the data source manager ? I have issues my base map is displacing.
Initially the was no problem with it, do I need internet for it to be displayed? Please check the screen shot, suggestions are welcome.
Thanks
Good day,
I hope you are well. I believe I am struggling with navigating the website because I cannot find the instructions for assignment 1. Please assist.
i also experienced the same problem i tried so many times to arrange my layer pannel but still the open street map didn’t show on the map.
@JonathanGatward. Wow, thank you so much for clarifying those aspects. You are the best!
I didn’t know how ESRI shapefiles worked before this module and got quite confused trying to learn how they work by myself. Now I know what an ESRI shapefile is (at least slightly better). I also learned how to get the basemap from OpenStreetMap, another thing I was trying to do by myself and not succeeding in. The later one is the missing piece for the project I was undertaking as my goal.
I had to re-add the browser panel because, for some reason, Layers > Add Layers didn’t have an option to add XYZ layers — a nice little bit of troubleshooting experience.
I noticed during setup that my QGIS doesn’t have an option to check “selection toolbar!” Does anyone have any idea why this may have occurred? I am using QGIS 3.10, so is this out of date?
Hi @sharyn thanks for the compliment. I was honestly not satisfied with my work due to the fact that I experienced some complications on using the application Qgis. But I believe is because is for the first time and with time, would like to be professional.
At the beginning i found this module very easy to understand as i was able to follow the instructions without facing any problems. The problem started in the last activity when i had to do an open street map layer which i tried following the instructions but im not winning. can you guys please help me on how to do it correctly?
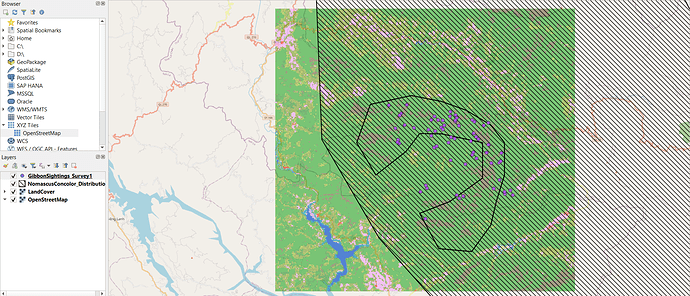
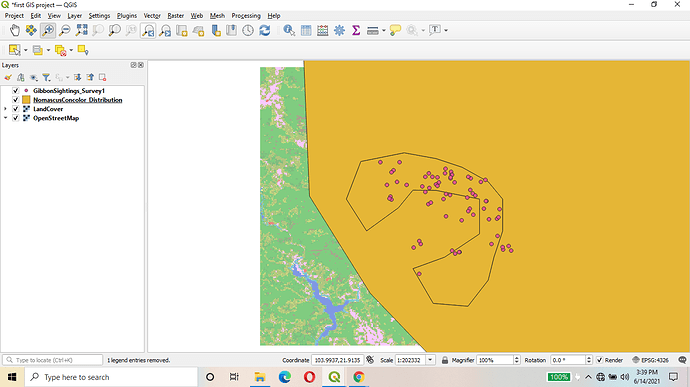
Hello, the way you’ve done the distribution is helpful since it doesn’t obscure the LandCover.tif. They said they’d cover this in the course later, but I was wondering how you set it to outline-only anyways? I’d like to try it on my map.
Hi!
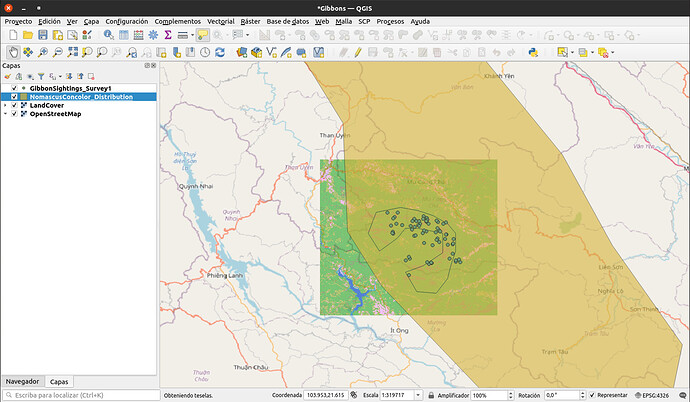
Here is mine!
This module was easy to follow. I didn’t know what the file .qml was for… It’s very useful.
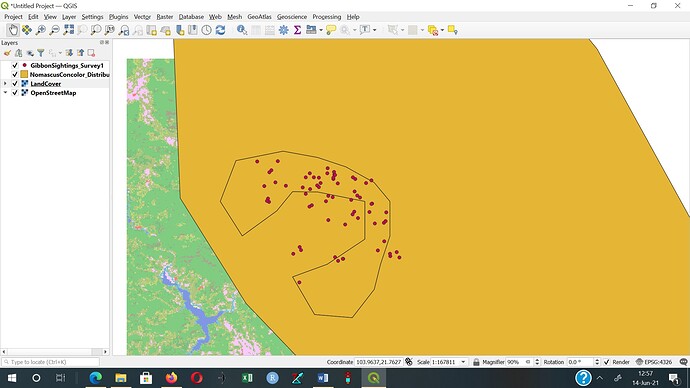
In my project I tried to achieve some transparency in the distribution layer to be able to see all the information at the same time.
Hi! In this link you can find it Introducing GIS for conservation | Assignment
Hi! lines are a good idea! In mine, I used transparency, but I think lines could be useful in some cases. Thanks for show that option!!
