Well done @Lynet_Zhou - your map looks great!
1 Like
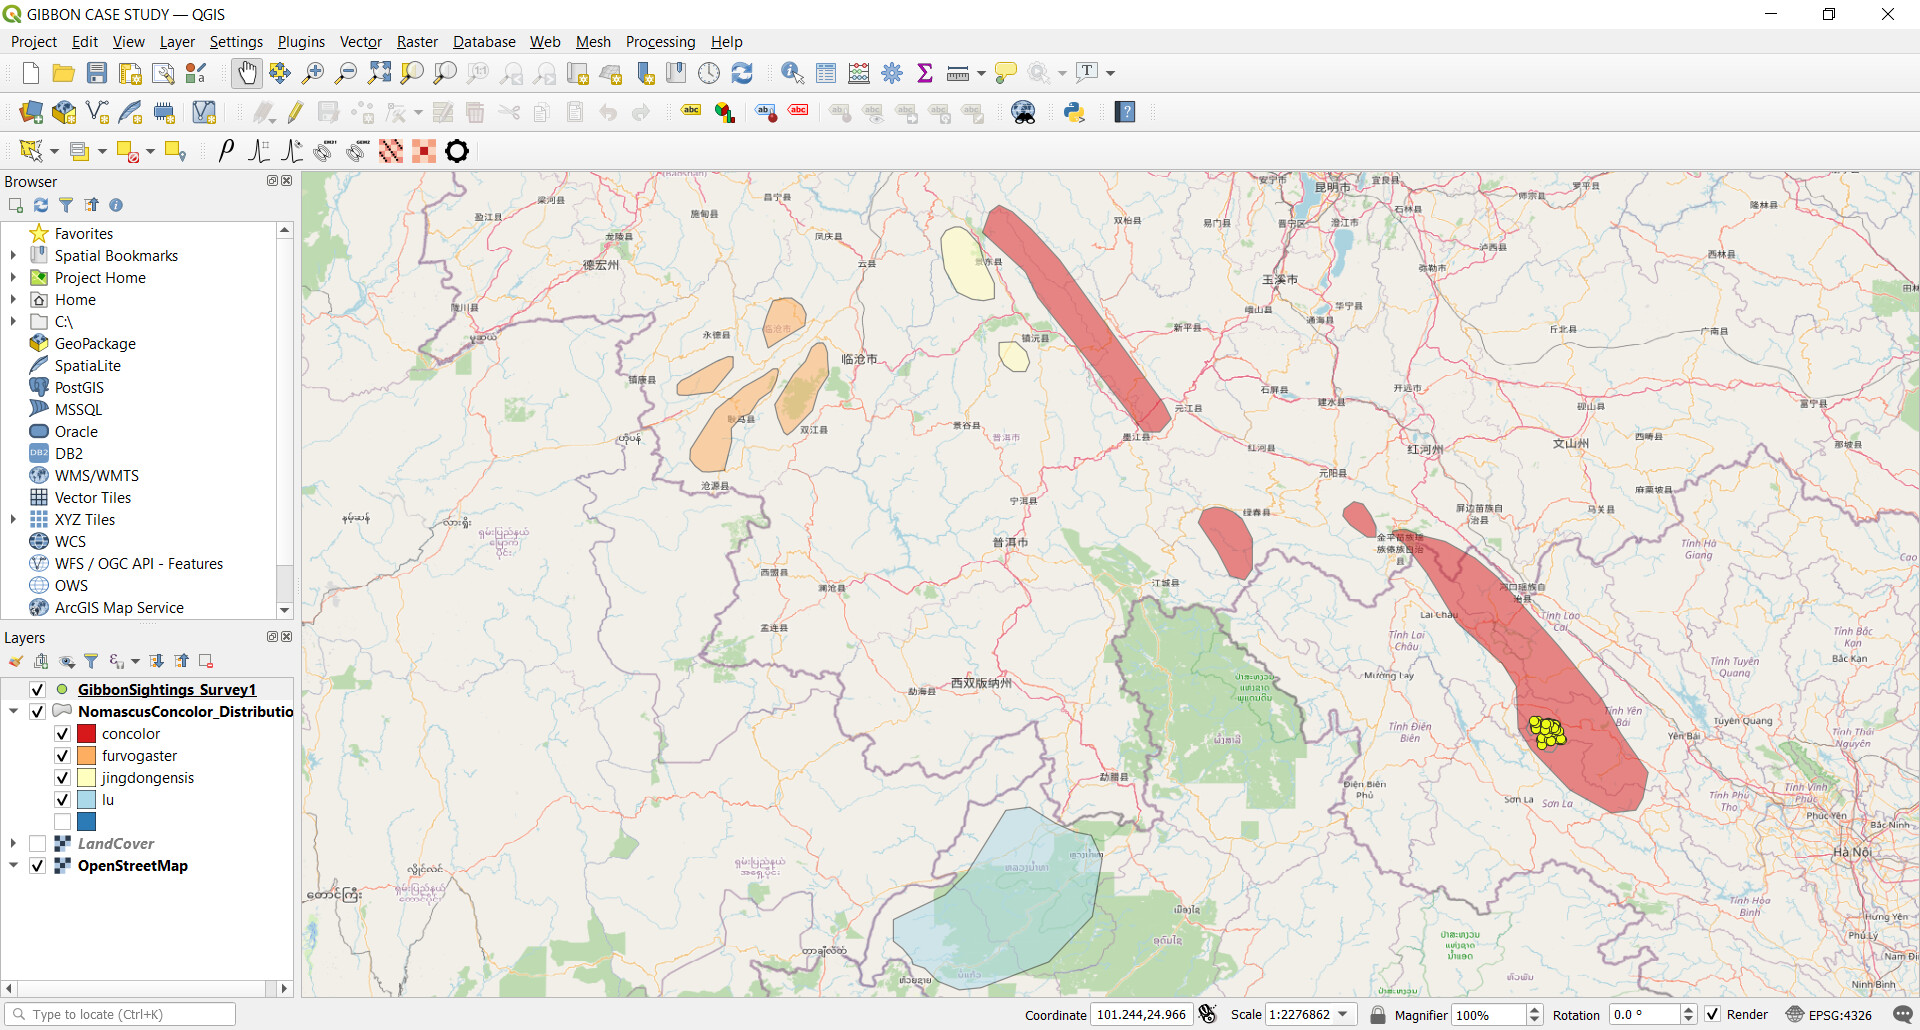
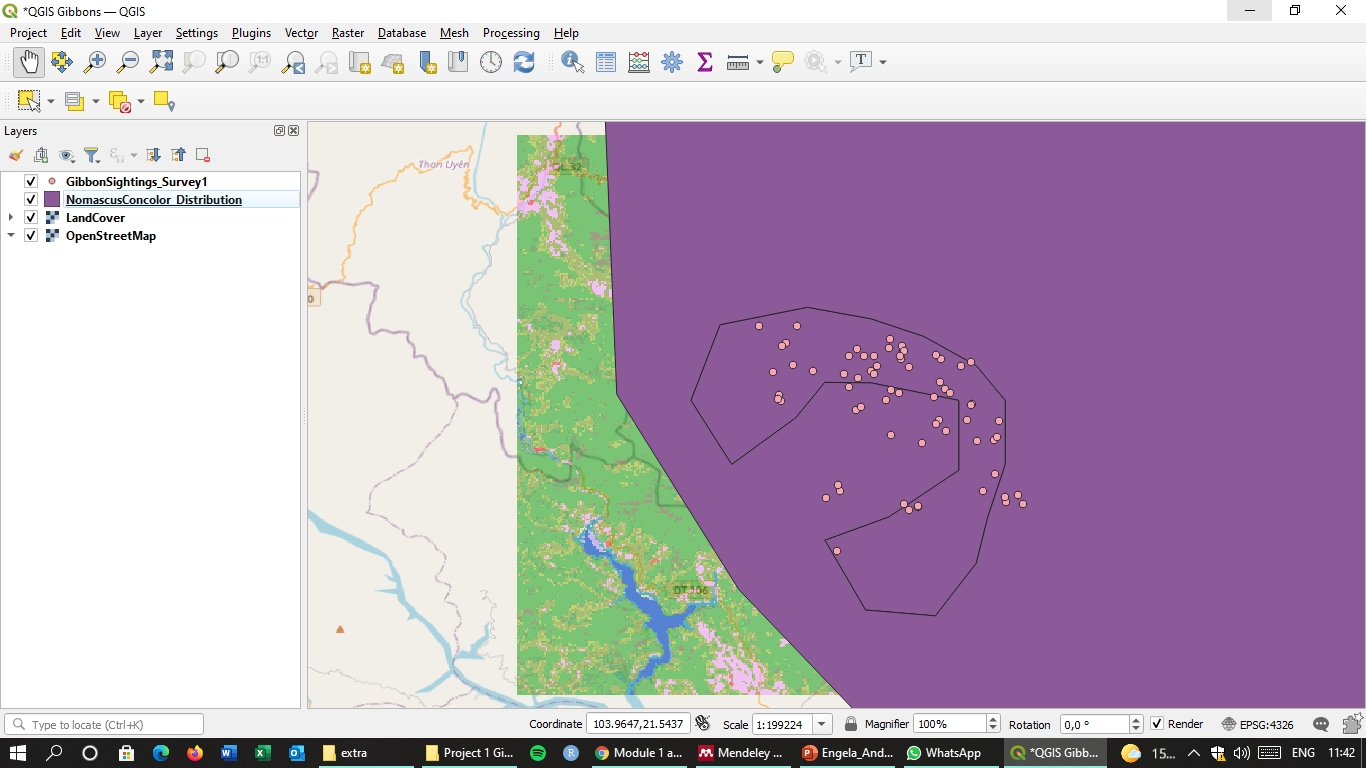
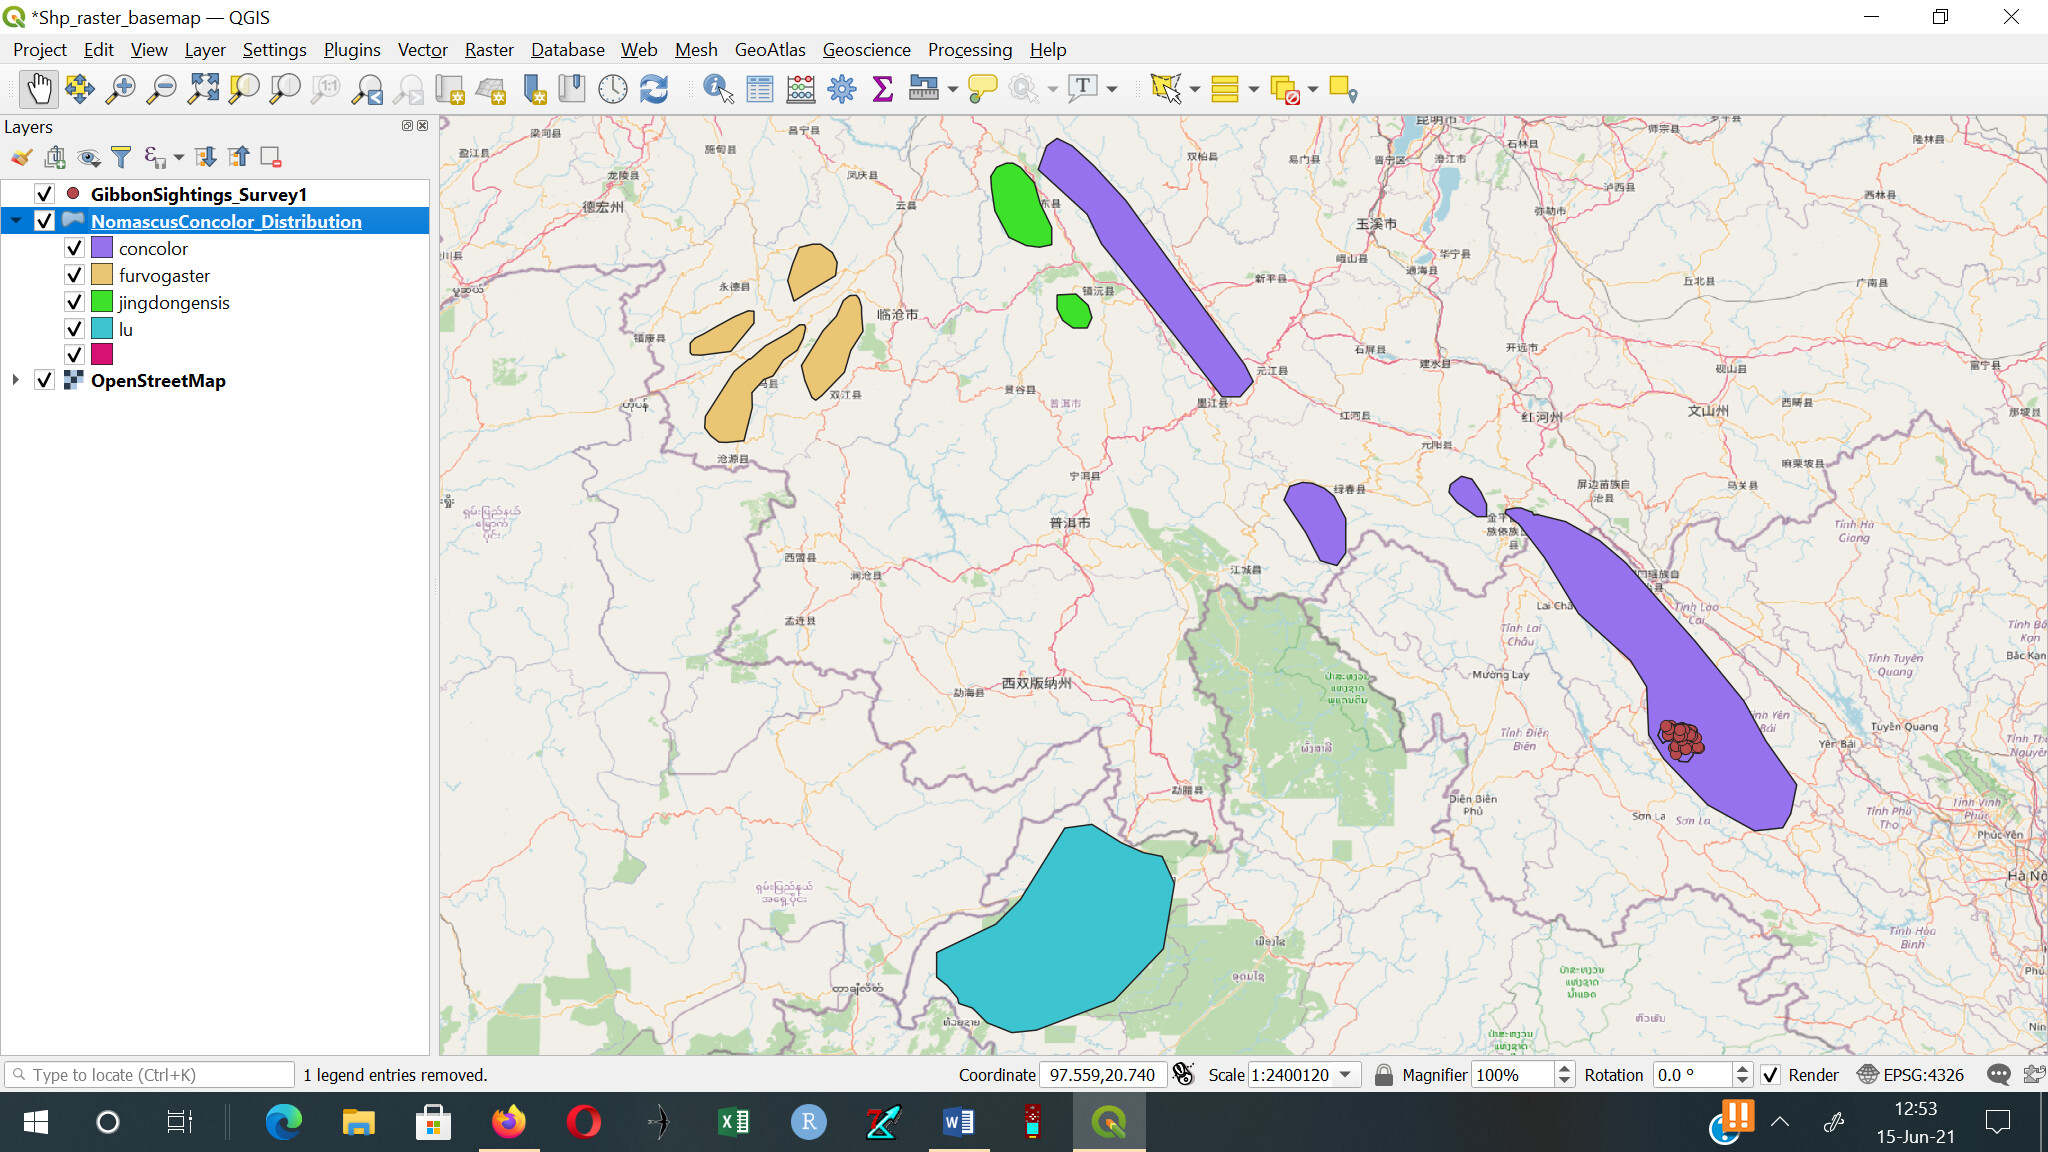
I’ve gone a little bit further than was instructed. I’ve categorised the Gibbon distribution by sub-species - in layer Properties > Symbology > Categorised (on sub-species). I’ve also set the opacity for the layer to 50%, so the OpenStreetMap base layer is visible.
2 Likes
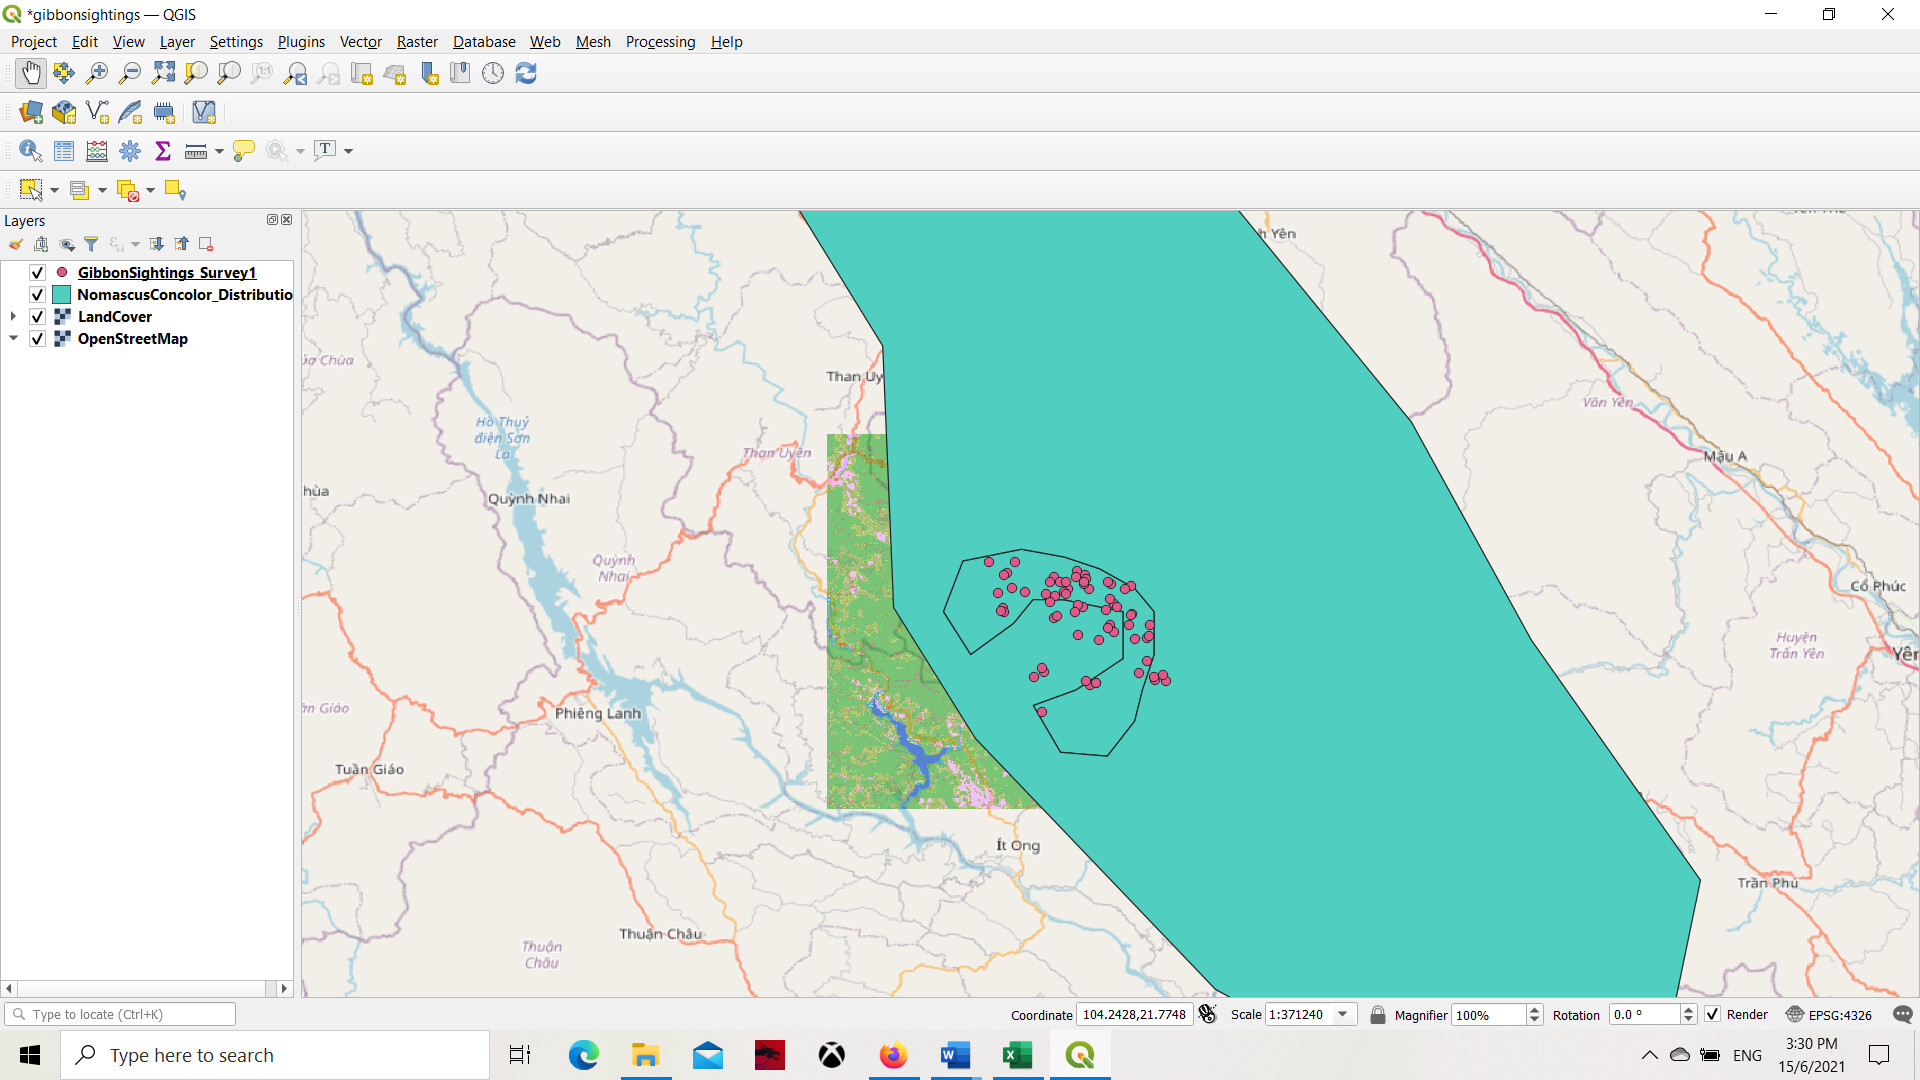
This is a great start! Easy to understand and apply. Instruction were all clear and I didn’t have any problem so far. I learnt a new thing today, which was to add an map from OpenStreetMap/ online source. Thank you for the guidance, do let me know if there’s any error or mistakes !
1 Like
This is great! I didn’t know you could categorized the gibbon distribution into subspecies. Thanks! Will try this~
I’ve found the first module intuitive, and an encouraging introduction to QGIS. My experience with other programs such as Google Earth seems to translate nicely into the very basics of QGIS. I encountered one difficulty, wherein I couldn’t seem to download v3.16 on Ubuntu, so I was using v3.18. On that version I could not find the XYZ basemap function. I switched over to using v3.16 on Mac OS, and continued there.
Hey, nicely done for getting after it with your own data. It seems like the scats cluster in certain areas. I wonder if that’s due to behavior of the wolves, maybe avoiding extreme topography, or some sort of sampling bias around access, or something like that.
I found the course instructions very clear and easy to follow.
I’m looking forward to the next assignment.
I agree with your comments. Easy and clear step by step to follow.
Hi Everyone, here is my first module’s assignment. The coursework and instructions were so simple to follow - I really enjoyed the first session and feel so chuffed that I now know how to get something onto my QGIS work space. I didn’t experience any problems thus far!
At one point i thought you created a fish net. lol
Love the choice of pattern NomascusC Dist. Your work caught my attention.
good job.
1 Like
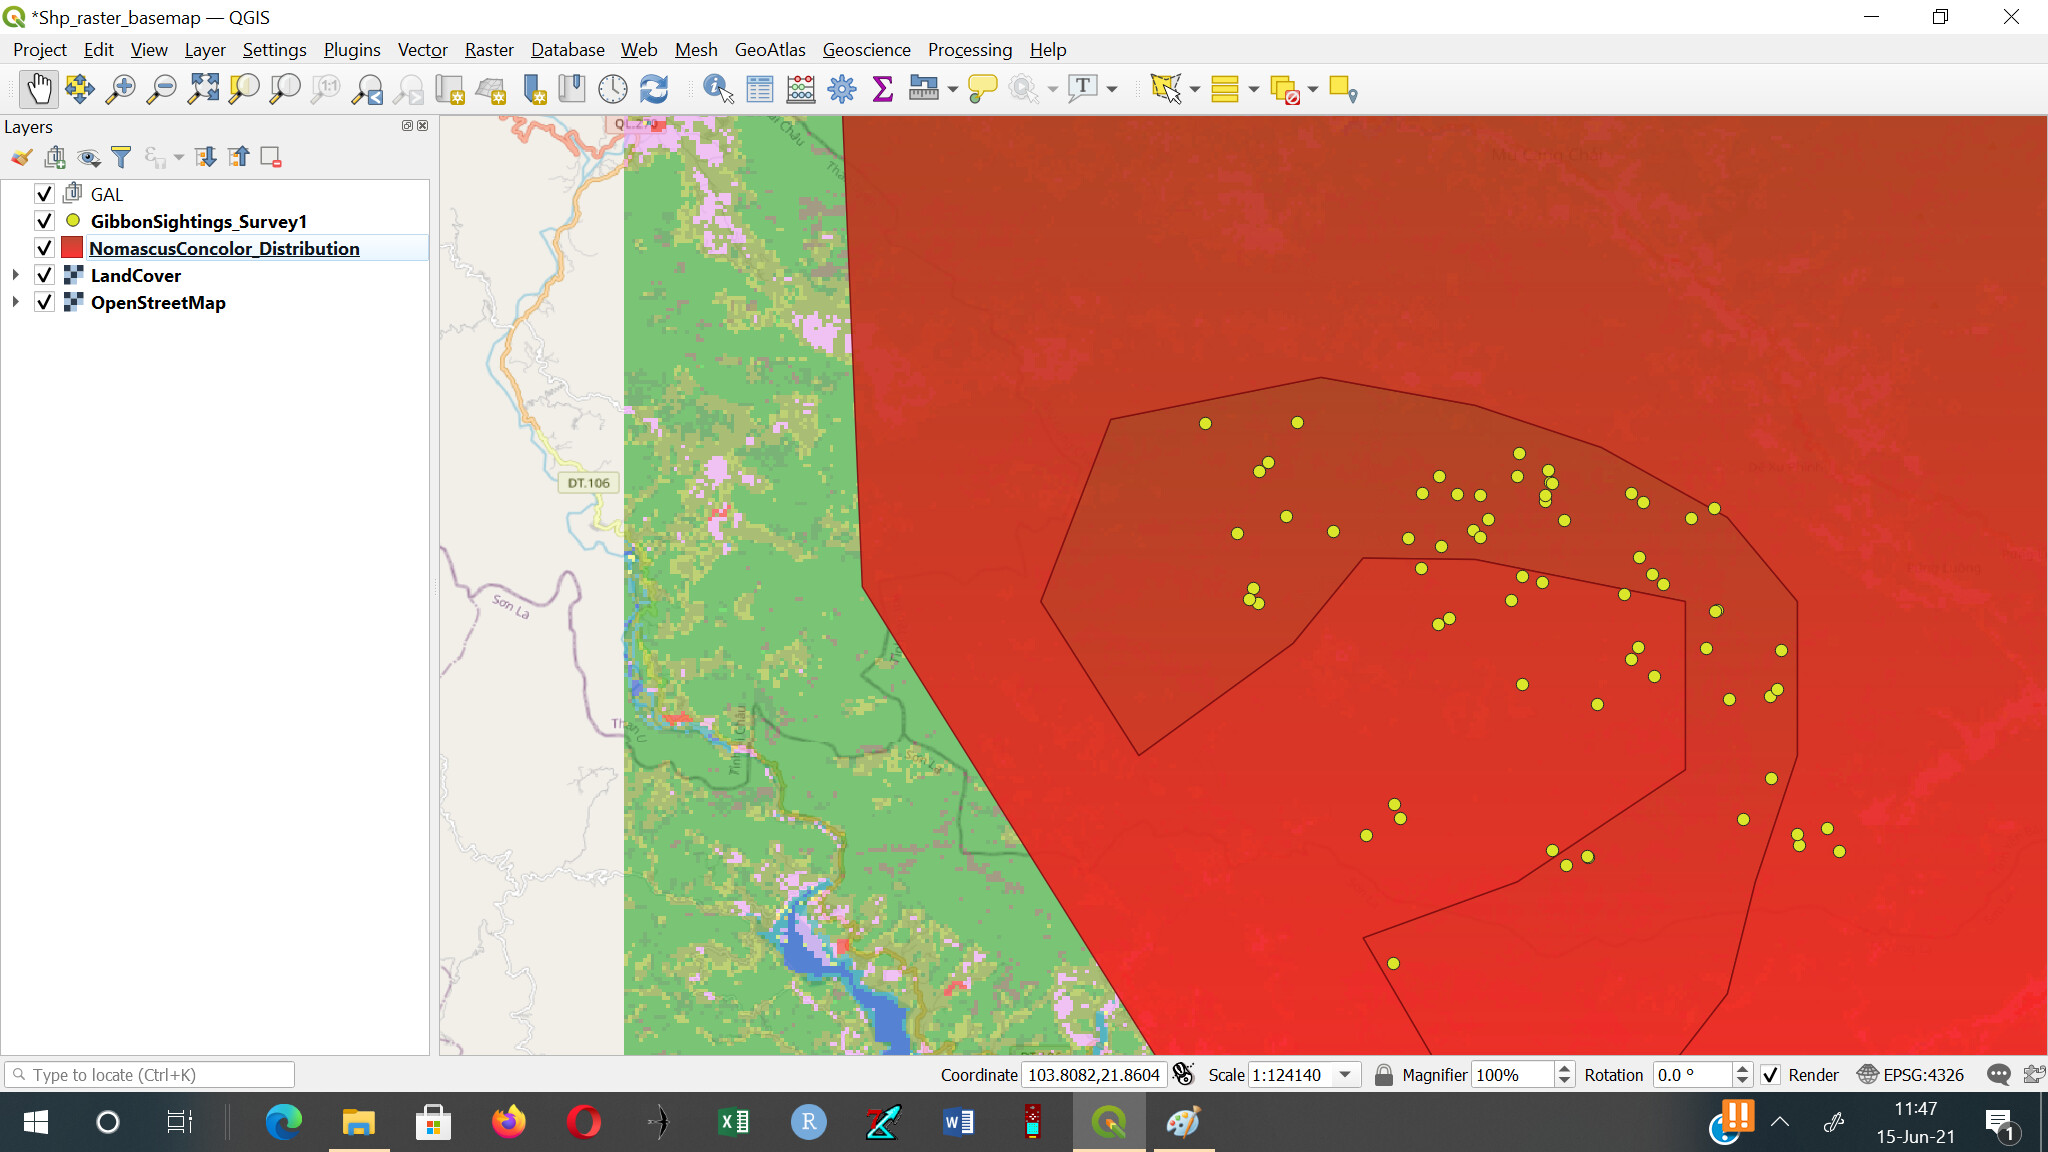
Well done - this map with your own data looks very good!
Hi, I like the presentation you made regarding classification. How can I go about it? In the properties in symbology, when I select subspecies the layer disappears.
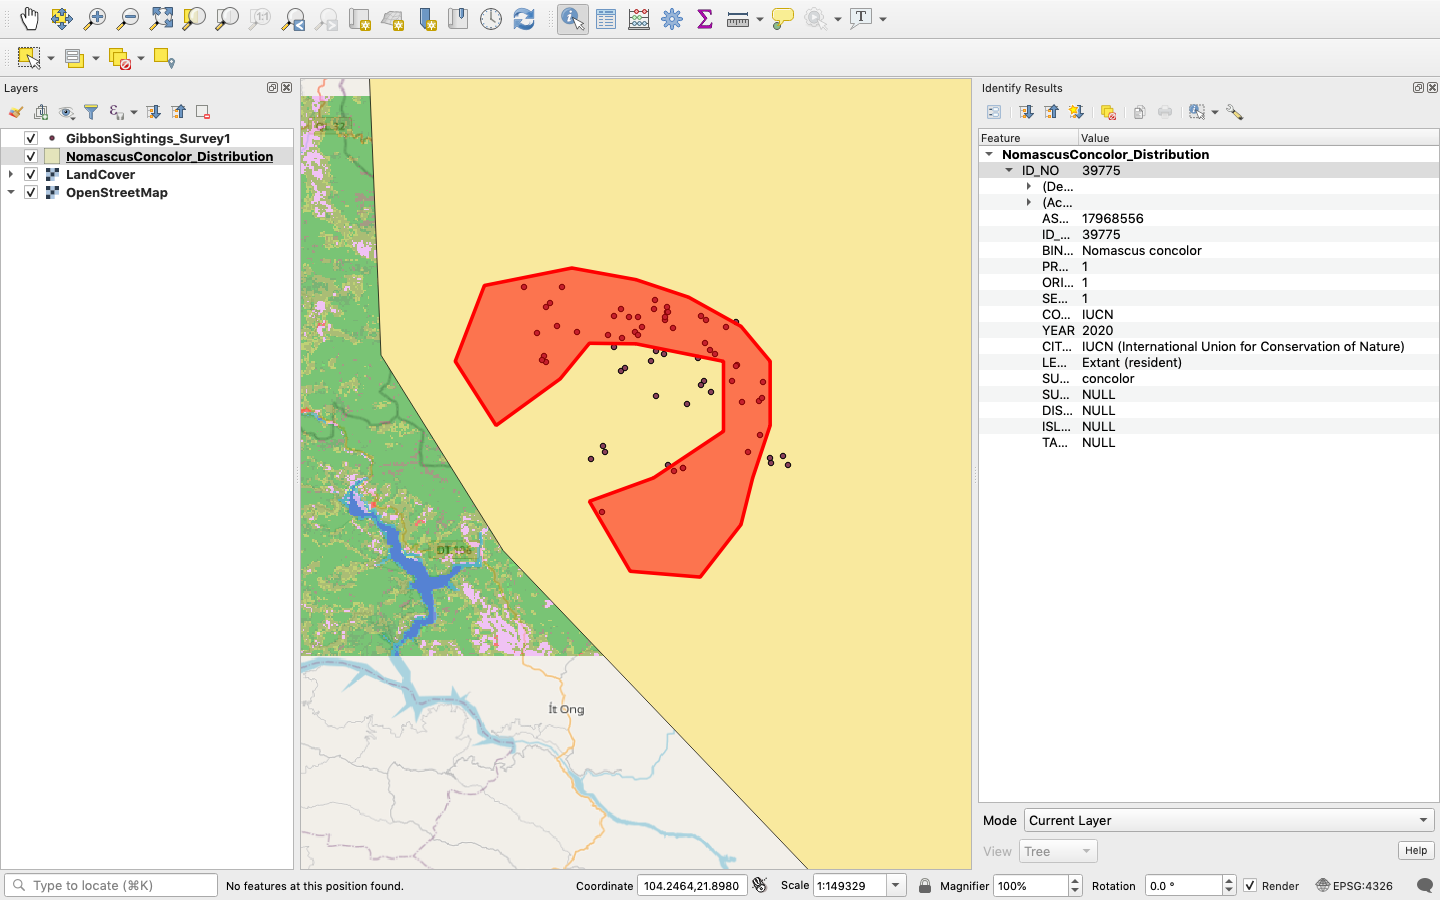
HI Ekole, I should think classification of layer symbology by attribute is something that will be covered later in this course. But for now, when you select “subspecies” in the value drop down list, you need to click the “Classify” button towards the bottom of the Symbology window which then adds the different classes. The symbology and Legend text (as well as order and whether the class is displayed or not) can then be altered before clicking the OK or Apply button. Hope this helps.
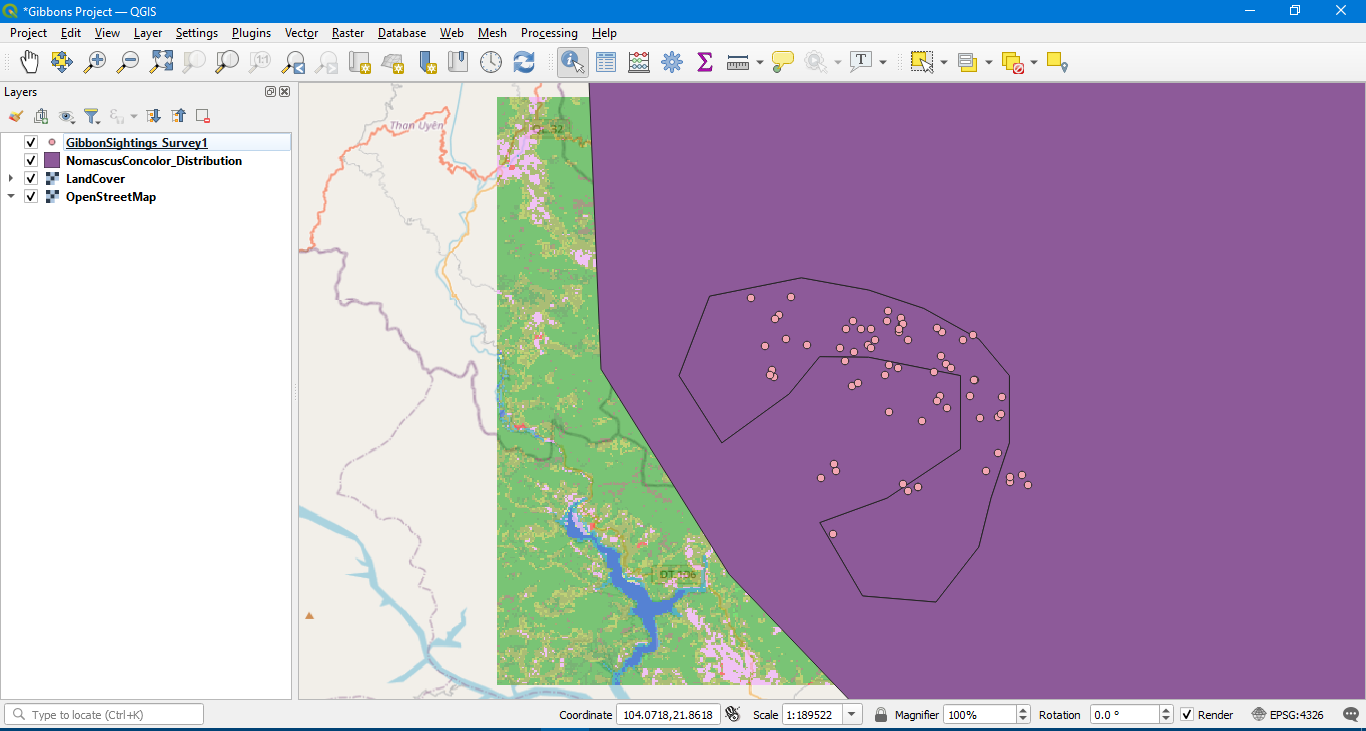
Thanks for your time I resolved it, Please have look.
I have another worry that I have asked earlier for clarification, which of the encoding option is appropriate for vector and raster files.
Cheers,
EKOLE.
1 Like
hi guys
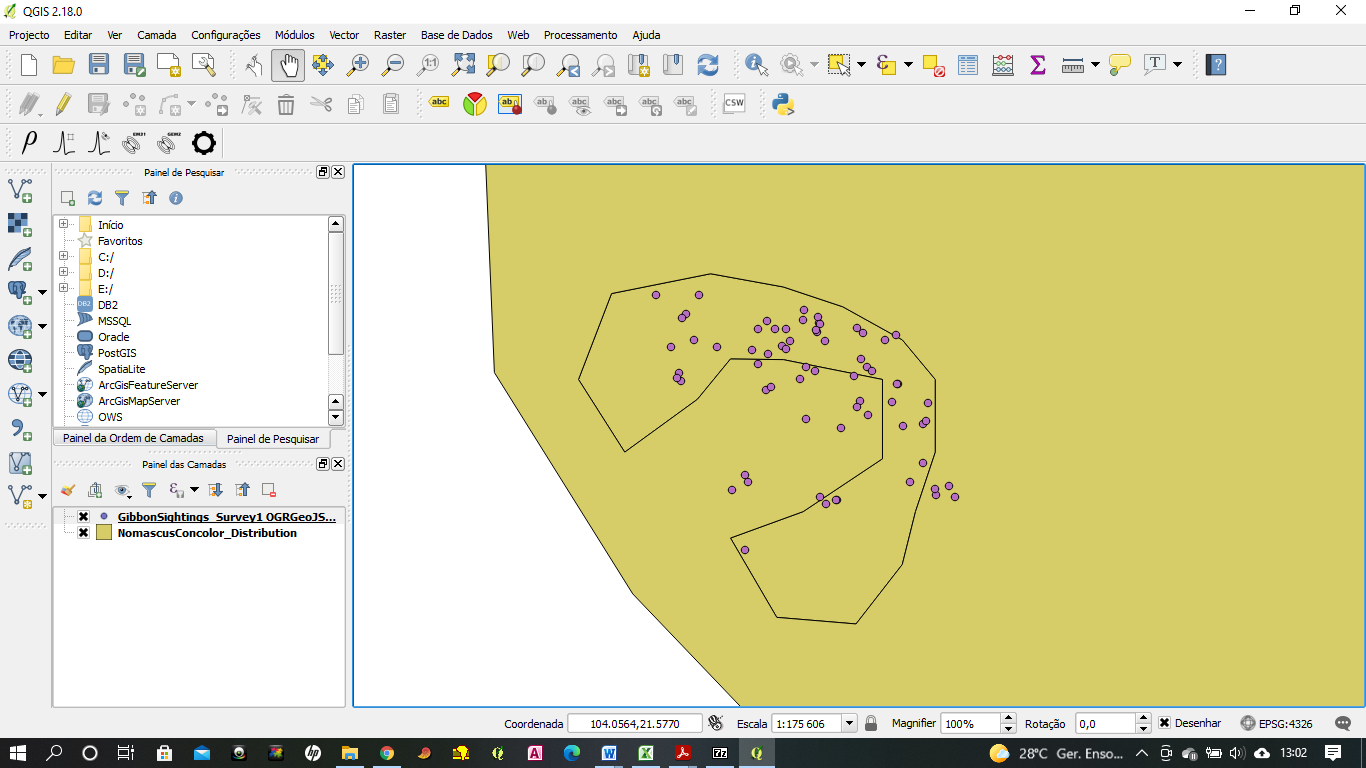
The notes and instructions for this module were quite clear and easy to understand for for someone like me who hasn’t done any GIS course before. I however, failed to download the suggested version of GIS and got this 2.10 from a friend and hey kkk I couldn’t find the XYZ layer to add “OpenStreetMap” (base map), only found WCS layer, WMS and WFS kkk. Otherwise I enjoyed every exercise given for this module. Thank you!!
Vuyisile
1 Like
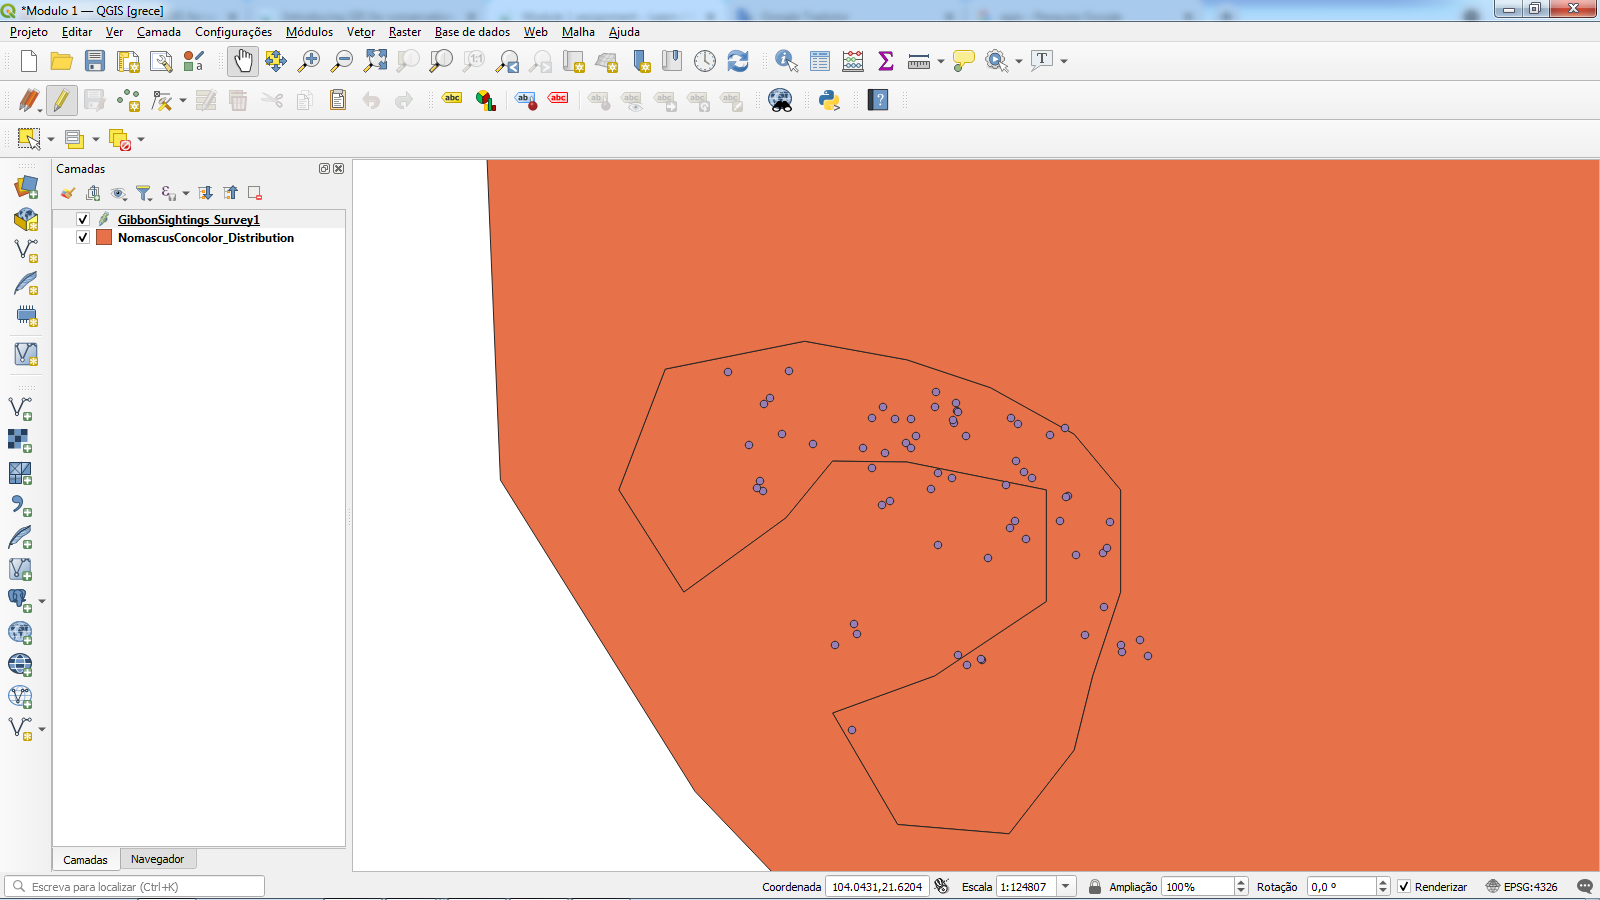
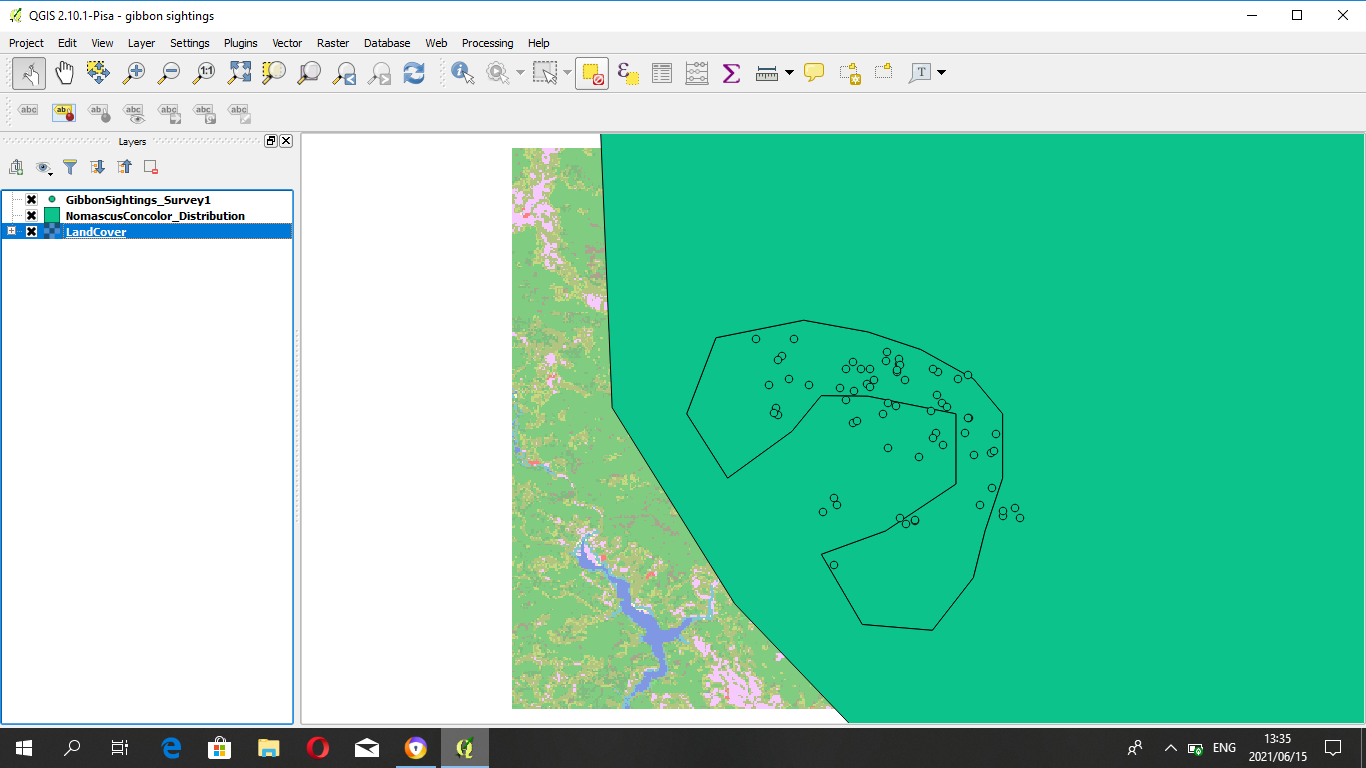
Great work @Grece9! have you finished going through the module? I see you have not yet added land cover and OpenStreetMap. I hope all is well. Its a good presentation so far!
Vuyisile